IDEAS GUIDE Themes, routes, resident zones, and readable decoration
Tomodachi Life Island Ideas: 12 Layout Themes & Design Tips
Use these Tomodachi Life island ideas to shape clear routes, practical zones, and a flexible theme for Living the Dream.
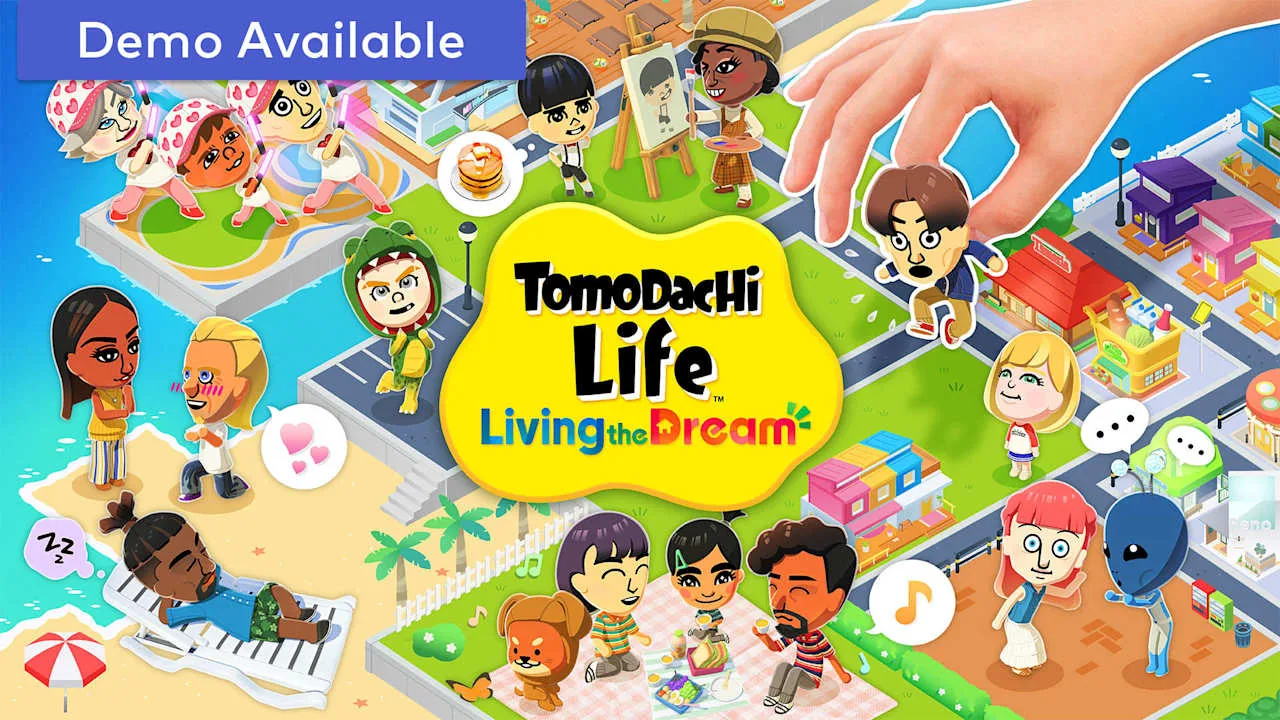
IDEAS GUIDE Themes, routes, resident zones, and readable decoration
Use these Tomodachi Life island ideas to shape clear routes, practical zones, and a flexible theme for Living the Dream.
Choose a mood, then repeat a few colors, landmarks, and route ideas.
Keep homes, shops, and public areas open so resident bubbles stay visible.
Reserve a flexible zone for new residents, facilities, homes, and projects.
Give each area a job: a calm home loop, lively market, beach route, or story built around your Miis. Keep residents visible, frequent stops close, and decoration clear.
Write a one-sentence theme, then choose a route, landmark, and flexible space. The plan can grow with new residents, facilities, homes, and custom items.
The Island Guide covers facilities and map basics; this guide focuses on adaptable themes, layout choices, and a daily-play checklist.
Give each zone a job before decorating: visible homes, nearby services, open social space, or room to experiment.
Sketch four areas and keep a reserve for a future house, event, or custom project. The sketch need not match the exact map.
Check the current map before naming facilities or unlocks; older 3DS guides may use different terms. Treat this as a design plan, not an unlock list.
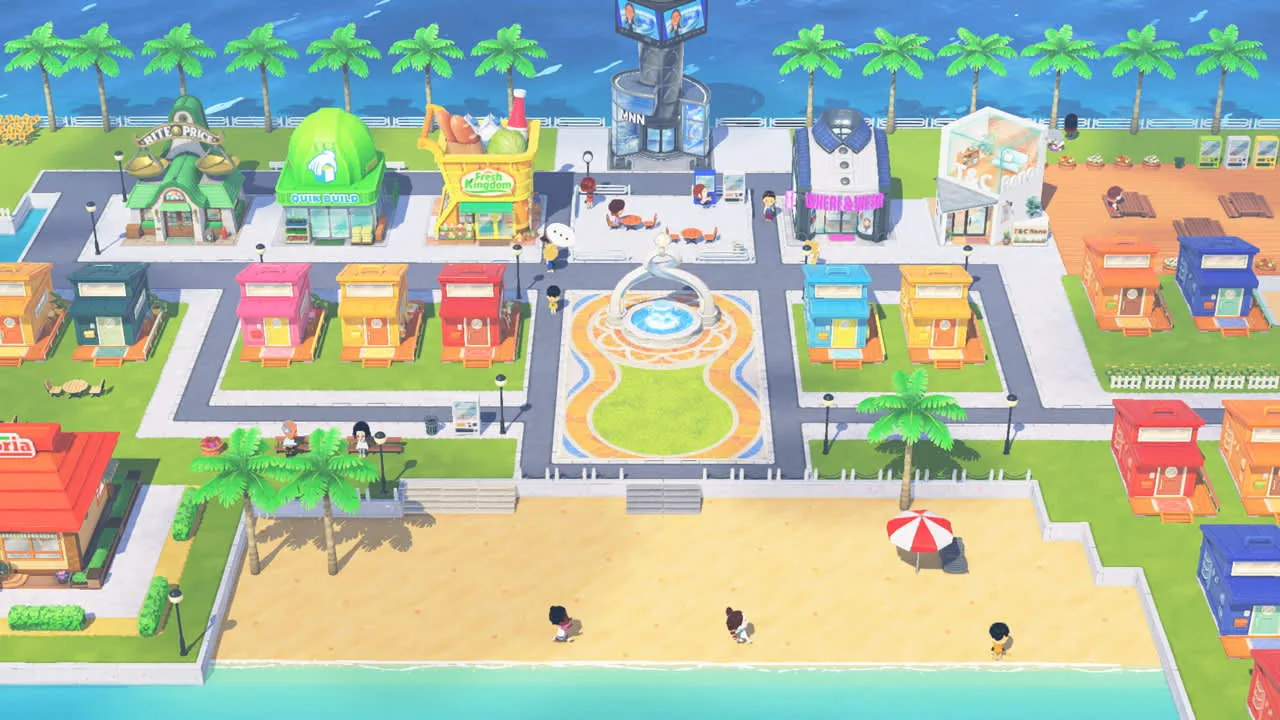
Mark a short loop from homes to the plaza and services you visit most.
Use one landmark to orient the neighborhood.
Leave room for residents or projects you have not planned yet.
Walk the route and clear anything that hides people, doors, or frequent stops.
Use these themes as starting points: choose one main idea, borrow one detail, and keep open space.
For each idea, note its landmark, who it serves, and what stays flexible; revise after seeing how your Miis use the island.
| Island idea | Useful anchor | Design rule |
|---|---|---|
| Sunny resort | Beach edge and bright path | Keep a clear route from homes to the coast. |
| Market town | Central plaza or fountain | Group frequent shops without narrowing the loop. |
| Storybook village | One color family and a small square | Repeat simple shapes instead of filling every space. |
| Night-life district | Lamps, music, or a late-evening route | Use contrast while keeping resident faces visible. |
| Nature retreat | Green boundary and quiet corner | Leave open ground so the area does not become a wall of props. |
| Festival island | A wide gathering space | Keep the center open for groups and screenshots. |
| Mii neighborhood | Short home-to-home loop | Use landmarks to separate residents without isolating them. |
| Travel postcard | A scenic edge or viewpoint | Frame one photo area and keep the rest practical. |
| Color-block map | Two or three repeated colors | Assign each color a job, such as homes, services, or play. |
| Comedy stage | A visible plaza or open platform | Leave sight lines clear so the joke is easy to see. |
| Quiet journal | A bench, beach, or small public space | Use fewer objects and record what changes each visit. |
| Mixed story island | One shared landmark | Let different resident themes connect through one common route. |
Plan around play, not screenshots. Keep homes and services easy to scan, then place social scenes where decoration will not hide residents.
A larger cast makes clutter harder to spot. Use a short loop and one landmark per neighborhood; leave room for new residents, and see the character or relationship guides for those topics.
Test a quick scan, a creative session, and the route after a new resident or facility. If it works only in a posed screenshot, revise it.
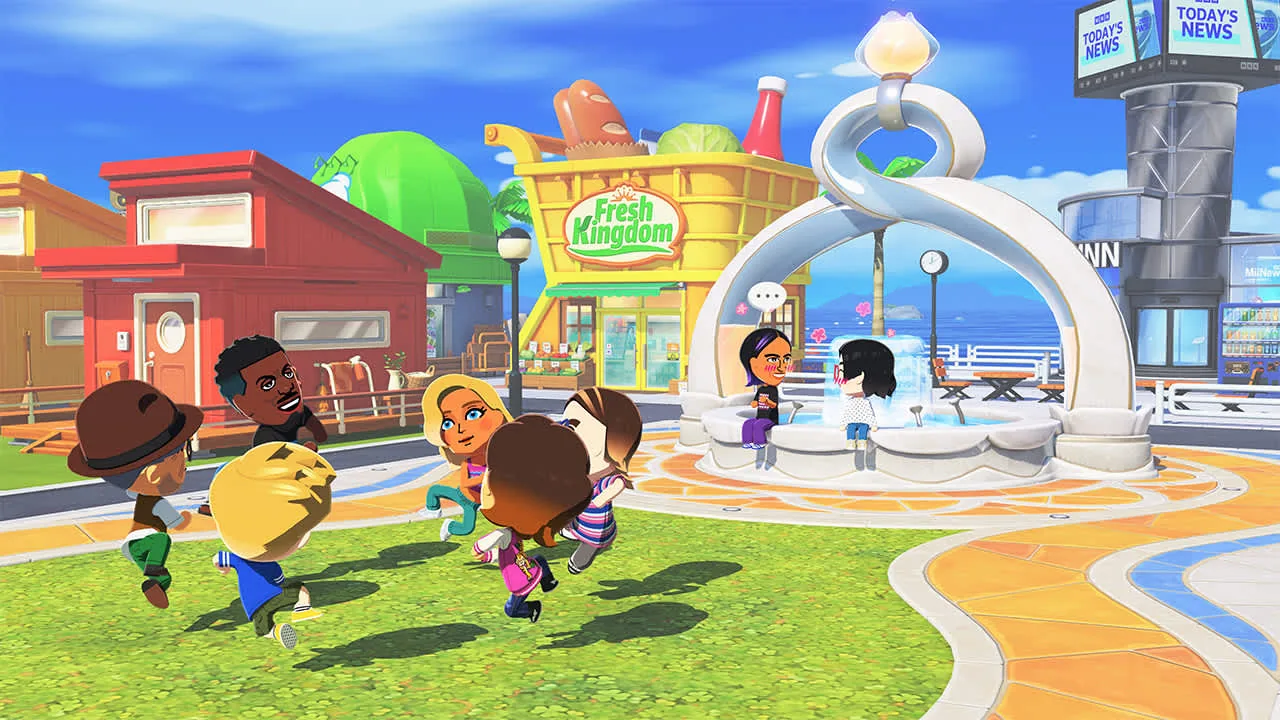
Spot who needs attention before decorating.
Use a visible plaza, beach, or public area.
Keep room for new families, couples, or groups.
Retest after any resident, house, facility, or project changes.
Connect homes with one shared color, symbol, plant, or material, then let each resident interpret it. A distinctive room can still fit the neighborhood.
Use the custom-house guide for room themes and renovation. On the island, treat one sign, portrait, or prop as an accent; unrelated drawings add visual noise.
Finish urgent requests and let the game save before a large redesign. Check older 3DS advice against your current release.
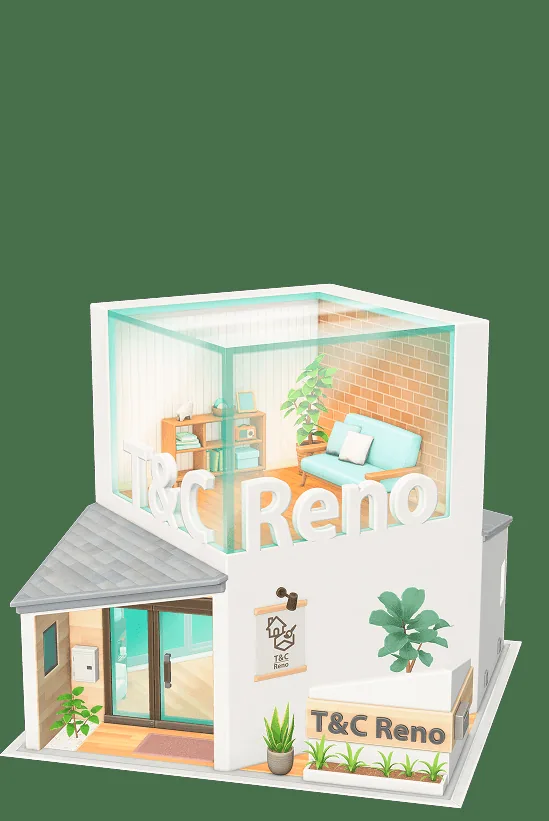
Repeat one cue across homes and nearby routes.
Pick a resident story such as music, travel, food, or comedy.
Check that a handmade item reads at normal scale.
Clear props that hide movement, faces, or the theme.
Do not design for a still image alone. Keep bubbles, entrances, and group scenes visible, then test the route during normal play.
Check the platform before copying an old layout or unlock list. Use screenshots as inspiration, and verify names or features against your save or an official source.
Avoid ROMs, save editors, unknown unlockers, and executable design packs. Build ideas with normal play, screenshots, and notes.
| Warning sign | Safer response | Why it matters |
|---|---|---|
| A path looks good but hides bubbles | Open the route and retest during a normal visit | Daily play depends on visibility. |
| An old guide names a missing facility | Check the current release and region | 3DS and Switch information may differ. |
| Every area uses a different theme | Choose one shared cue | A common cue makes the map readable. |
| The plan fills every open space | Keep one flexible reserve | Future residents and projects need room. |
| A download promises instant designs | Use normal in-game tools and official updates | Unknown files can damage saves or accounts. |
Choose a market, resort, or neighborhood theme, one landmark, and a short daily route.
No. Prioritize visible homes, easy services, social space, and room to grow.
Map homes, services, a gathering place, and a reserve; test the route in play.
Use it for inspiration, but verify current facilities, map, and progression.
One main theme plus a small accent is easier to read.
Yes. Reserve room for residents, events, facilities, and future projects.
Compare official screenshots and labeled community examples; note the design rule.
Avoid ROMs and unknown unlockers; use the game's normal tools.
Build social, photo, and story areas
A social area needs a purpose and room for the scene to read. Use a plaza as an everyday center or a beach corner as a photo spot; keep the background clear.
Separate spaces with a warm market palette, cool quiet corner, or one festival accent. Repeat it at the entrance and landmark, then stop before colors compete.
Record the theme, landmark, resident group, and open space in each screenshot note. That makes the design rule easy to reuse.
Set a focal point
Choose one object, color, or view to identify the area.
Protect sight lines
Keep faces, doors, paths, and conversation spots visible.
Create a repeatable photo
Use the same angle to compare sessions.
Label the idea
Name the theme and note its design rule.